1
Submit a test entry
Pick one of the options below and submit a test payload.
Browser requests receive a
Server submissions return JSON with the data you sent.
Option 1: Submit from your live form
Option 1: Submit from your live form
Open your website, fill in the form, and submit. This confirms the end-to-end flow works in a real browser.
Option 2: Submit with fetch (client)
Option 2: Submit with fetch (client)
303 redirect. Treat that as success.Option 3: Submit with cURL
Option 3: Submit with cURL
2
Check the dashboard
Open your form in the dashboard and confirm the submission appears in the table. New field names will show up as columns automatically.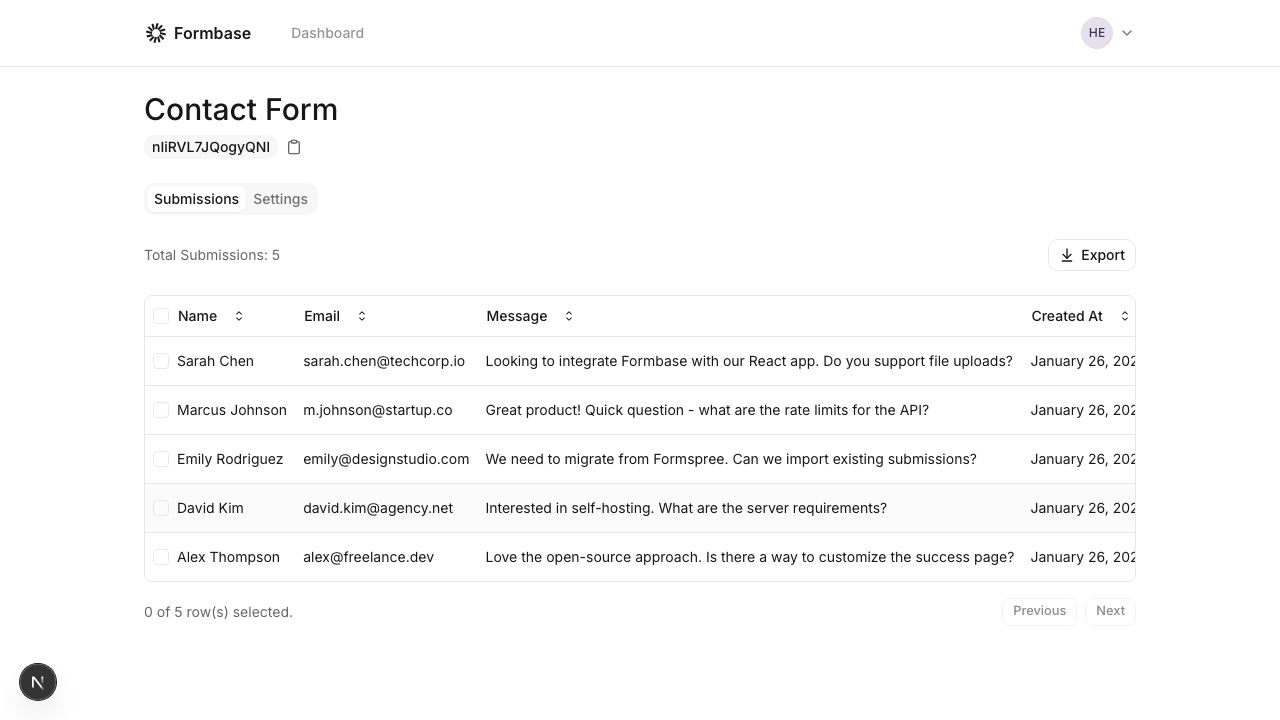
3
Verify email notifications (optional)
If email notifications are enabled, you should receive a message with the submission data. Make sure your SMTP or Resend configuration is set up if you are self-hosting.
If you are not receiving emails in a self-hosted environment, review the Email setup guide.